Introduction
Chromebooks are versatile devices ideal for various users, from students to professionals. However, they often lack the built-in stylus required for specific tasks like using a laser pointer. Whether you need to highlight areas during presentations, tutorials, or meetings, understanding how to get a laser pointer on Chromebook without a stylus can significantly enhance your productivity. This guide discusses different ways to accomplish this, focusing on both software solutions and built-in accessibility features.
Understanding Chromebook Capabilities
Chromebooks are unique in their design and functionality, running on Google’s Chrome OS, an operating system that emphasizes simplicity, speed, and security. These devices come with built-in Google apps and offer a seamless cloud-based experience. However, because they are distinct from traditional laptops, you might wonder how to extend their features, such as using a laser pointer.
Although Chromebooks often lack the capacity for hardware upgrades or added peripherals like a stylus, they have a rich selection of apps and built-in features designed to overcome these limitations. Achieving a laser pointer effect is a matter of understanding and leveraging these integrations. By exploring the right software solutions and using the accessibility features, you can efficiently use a laser pointer for any required task.

Exploring Software Solutions
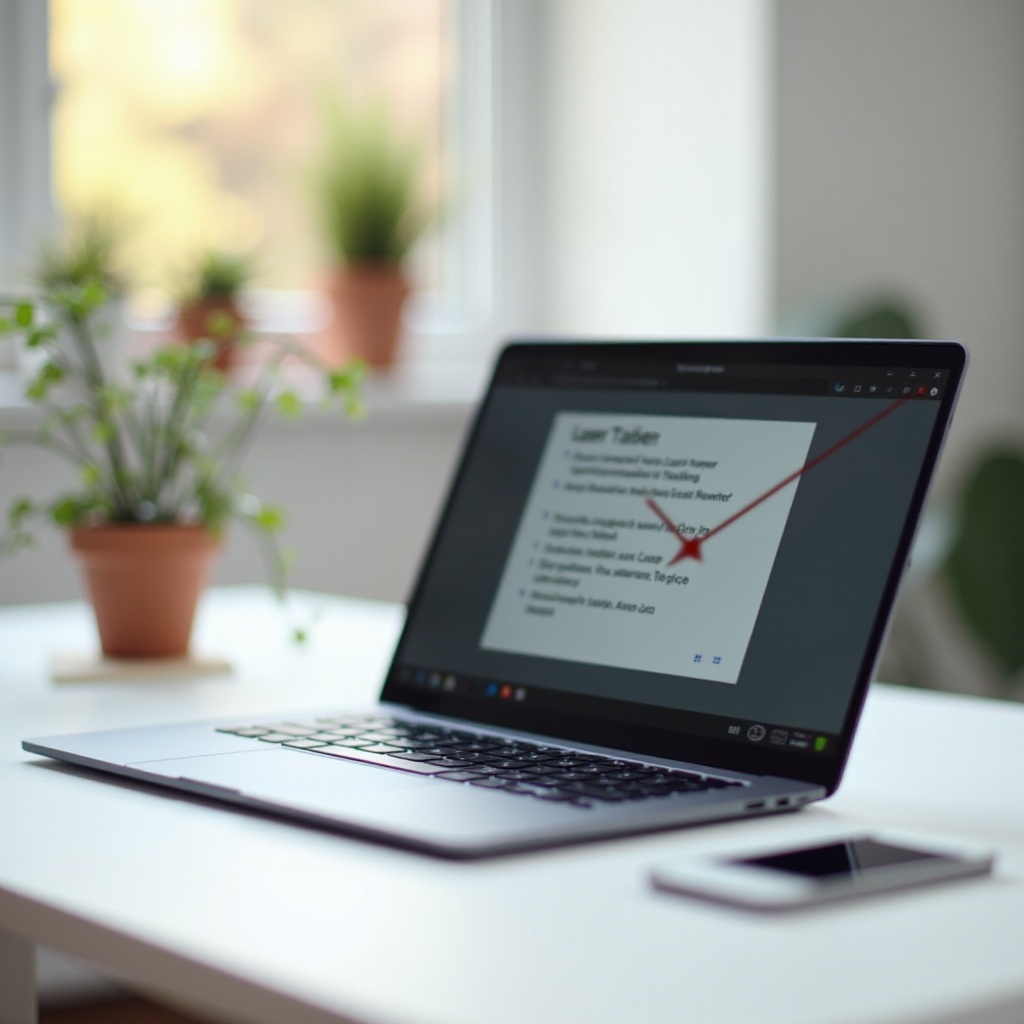
When looking for a laser pointer on a Chromebook without a stylus, software solutions offer the most straightforward and versatile approach. Several apps can mimic the laser pointer functionality, making it easy to highlight and focus attention during presentations.
Top Laser Pointer Apps for Chromebooks
- Laser Pointer for Chromebook: This app is specifically designed to offer laser pointer functionalities. It provides different pointer styles and colors.
- Presentation Pointer: This tool is excellent for those who frequently give presentations. It includes a laser pointer along with other useful features like annotating your screen.
- Remote for Slides: Ideal for Google Slides users, this app not only acts as a laser pointer but also allows you to control your slides remotely.
Detailed Steps for Setting Up Software Tools
- Download the App:
- Access the Chrome Web Store.
- Search for the desired laser pointer app, e.g., ‘Laser Pointer for Chromebook’.
-
Click ‘Add to Chrome’ to install the app.
-
Set Up and Configuration:
- Open the newly installed app by clicking its icon in the app launcher.
- Follow the initial setup instructions. This usually involves selecting a pointer style and color.
-
Test the laser pointer function by activating it and moving the cursor around the screen.
-
Integrate with Presentation Tools:
- For apps like Remote for Slides, ensure it’s connected to your Google account.
- Open your presentation in Google Slides.
- Use the app to remotely control the slides and engage the laser pointer feature as needed.
By following these steps, you can transform your cursor into a laser pointer seamlessly.
Utilizing Built-in Accessibility Features
Chromebooks come equipped with an array of accessibility settings that can be configured to mimic a laser pointer. These settings are particularly useful as they don’t require any additional software installation.
Enabling and Configuring Accessibility Settings
- Accessing Accessibility Options:
- Click on the status area in the bottom right of the screen.
- Select ‘Settings’, and then ‘Advanced’.
-
Navigate to ‘Accessibility’.
-
Enable the Features:
- Turn on ‘Highlight Mouse Cursor When It Moves’. This feature highlights your cursor, making it easier to follow during a presentation.
- Adjust the settings such as the color and size of the highlight to suit your needs.
Customizing Pointer Appearance and Behavior
- Customizing Cursor:
- Within the Accessibility settings, you can find options to custom color the highlight and cursor size.
-
Choose a contrasting color to make the cursor easily visible.
-
Pointer Movement:
- Adjust the movement speed under ‘Mouse and touchpad’ settings for more precise control during presentations.
By configuring these settings, your Chromebook’s highlighting and cursor features can effectively mimic a laser pointer.
Practical Application and Use Cases
Once you have set up your laser pointer, it’s time to use it in real-world scenarios. Whether through an app or built-in features, using a laser pointer can significantly enhance presentations and training sessions.
Using with Google Slides and Other Tools
- Google Slides:
- Open your presentation, and use the laser pointer app or built-in highlighting.
-
Navigate through slides while using the pointer to emphasize points.
-
Other Presentation Tools:
- Similar to Google Slides, tools like Microsoft PowerPoint accessed via the cloud or web apps can benefit from a laser pointer.
- Ensure your setup works seamlessly by testing before your actual presentation.
Real-world Examples and Success Stories
Many educators and professionals prefer the convenience of using their Chromebook as a multipurpose tool. Teachers can highlight parts of the lesson in real-time, engaging students more effectively. Corporate professionals can seamlessly present quarterly reports with more interactive elements, thanks to the laser pointer functionality.

Troubleshooting Common Issues
Even with the best setup, you might encounter issues. Here’s how to resolve some common problems.
Common Problems and Their Solutions
- Lagging Cursor:
- Ensure there are no running background apps slowing down system performance.
-
Restart your Chromebook.
-
Pointer Not Visible:
- Check the settings to ensure the laser pointer or highlight is actually enabled.
- Update the app or Chrome OS to the latest version.
Getting Online Support
For persistent issues, refer to:
– Chrome Web Store Reviews: Users often share solutions or troubleshooting tips.
– Google Support Forums: A wealth of information from other Chromebook users.
Conclusion
Understanding how to get a laser pointer on Chromebook without a stylus enhances the functionality of your device, making it invaluable for presentations and more. Utilize software solutions or built-in accessibility features to achieve this seamless integration. Happy presenting!
Frequently Asked Questions
Can I use a physical mouse as a laser pointer on my Chromebook?
Yes, by changing the cursor settings in the accessibility features or using specific software that converts the mouse pointer into a laser pointer.
What are the best software tools for laser pointing on a Chromebook?
Great options include Laser Pointer for Chromebook, Presentation Pointer, and Remote for Slides.
How can I improve the accuracy of the laser pointer on my Chromebook?
Ensure your touchpad or mouse sensitivity is set appropriately and consider using high-contrast colors to make the pointer more visible.