Introduction
The PlayStation 5 offers unmatched gaming experiences, but a faulty HDMI port can disrupt your gameplay. This crucial component is responsible for transmitting both audio and video signals from your console to the TV. Damage to the HDMI port can result from several factors, such as wear and tear or accidental mishandling. This guide is designed to help you identify the symptoms of a faulty HDMI port, prepare for its replacement, and execute the repair process effectively, allowing you to restore your console’s full functionality.
Recognizing Faulty HDMI Ports in the PS5
Detecting a faulty HDMI port can be tricky, yet knowing the signs can save time and hassle.
-
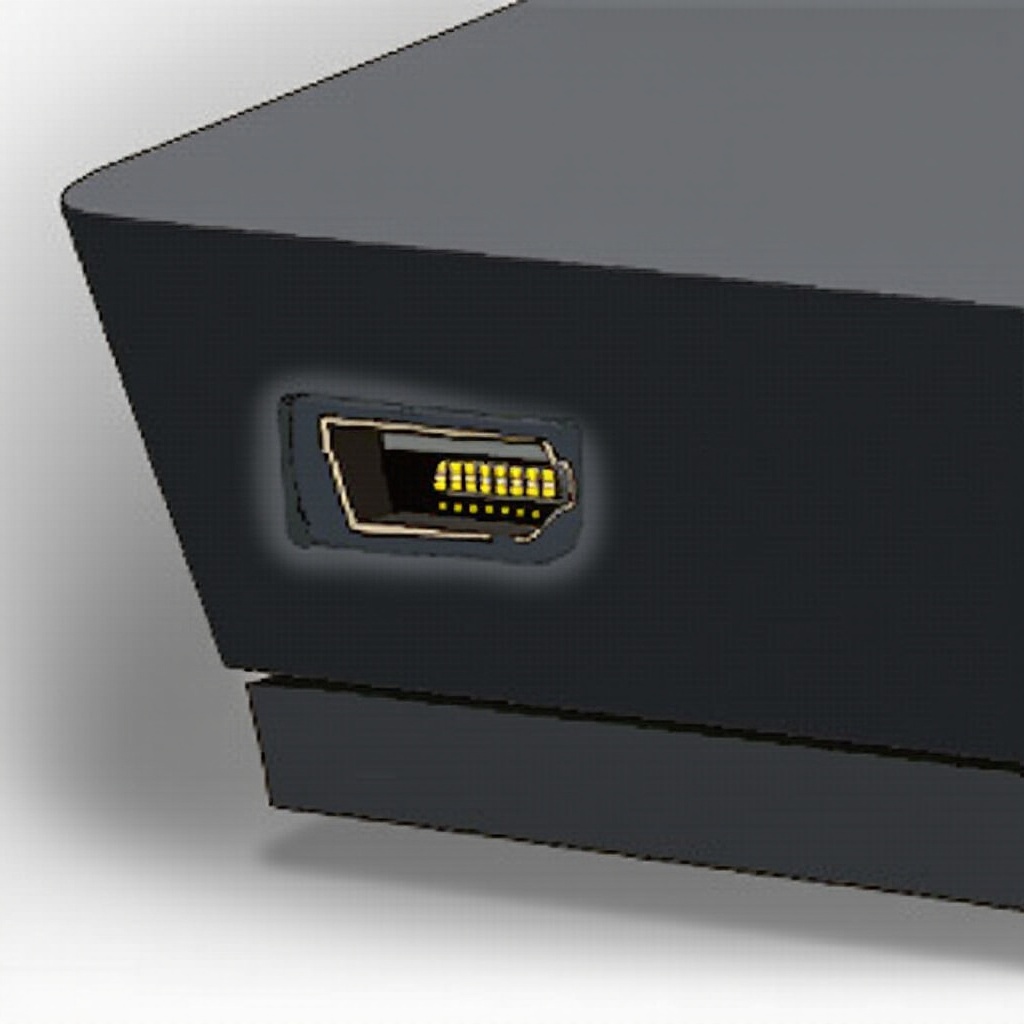
Common Signs of HDMI Port Damage: You may notice a lack of signal display, discolored or flickering video, or sporadic connection issues. Physical inspection might reveal visible damage to the port.
-
Importance of Timely Replacement: Delaying replacement can lead to further complications, potentially affecting other components of the console. Addressing the issue swiftly ensures the PS5 continues to operate seamlessly.
Armed with this knowledge, you can ensure your console remains in peak condition. Awareness of these symptoms prepares you for the next step: gathering necessary tools and precautions for the repair.
Tools and Preparations for the Replacement
Before diving into the repair process, it’s crucial to equip yourself with the right tools and ensure a safe working environment.
-
Essential Tools You’ll Need: You’ll require a precision screwdriver set, soldering iron with solder, tweezers, and an anti-static wrist strap. Most importantly, procure an HDMI replacement port compatible with the PS5.
-
Safety Measures and Precautions: Disconnect the PS5 from the power source and work in a static-free workspace. Use an anti-static wrist strap to avoid static discharge damage, and handle all components cautiously to prevent additional damage.
Proper preparation minimizes risks and streamlines the repair journey, setting you up for a smooth port replacement process.
Step-by-Step Guide to Replacing the PS5 HDMI Port
Replacing the HDMI port requires patience and precision. Follow these methodical steps to ensure success.
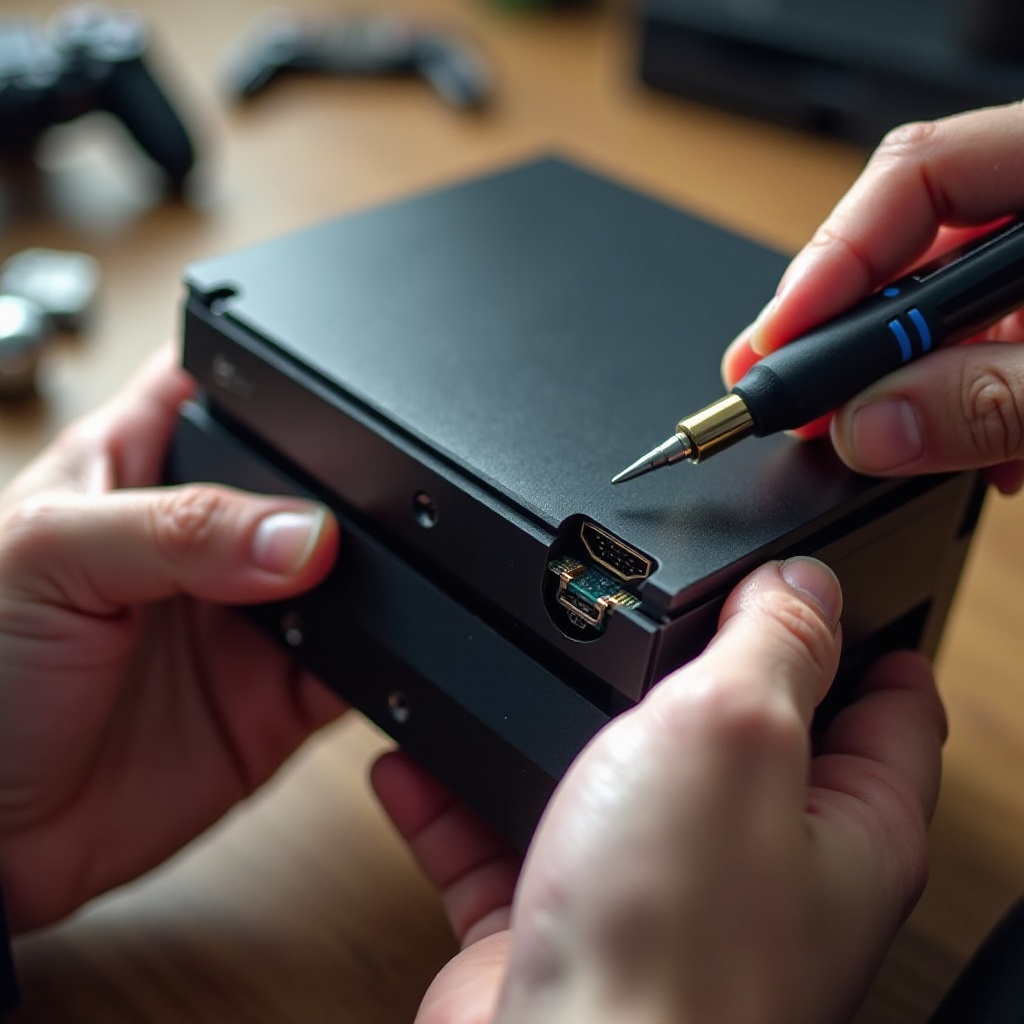
- Disassembling Your PS5:
- Gently slide off the console’s outer covers.
- Remove screws and the metal plate securing the internals.
-
Detach the fan and power supply carefully to access the motherboard.
-
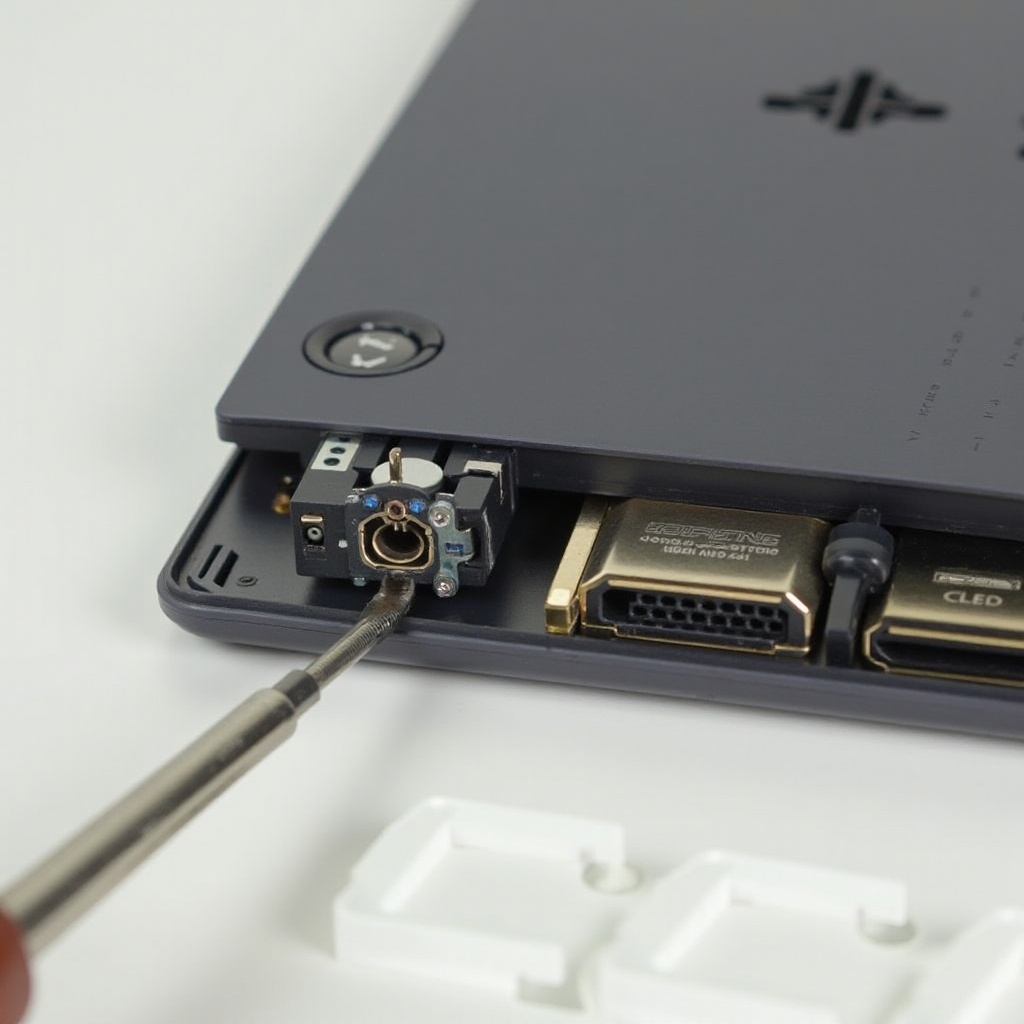
Removing the Damaged HDMI Port:
- Locate the HDMI port on the motherboard.
- Use the soldering iron to desolder and remove the defective port.
-
Ensure the area is clean with no solder residue.
-
Installing the New HDMI Port:
- Place the new HDMI port correctly.
- Carefully solder each pin to the motherboard with precision.
- Verify connections for accurate alignment and continuity.
Completing these steps with care and accuracy enables you to move forward to the testing and assembly phase to confirm the port’s functionality.
Testing and Reassembling Your PS5
After securing the new HDMI port, it’s essential to test its functionality before reassembly.
-
Initial Test for Functionality: Connect your PS5 to a TV to test the new port. Look for a continuous and clear signal without interruptions or distortions.
-
Ensuring Longevity of the New Port: If tests are successful, reassemble the PS5 by reversing the disassembly procedures. Confirm all components and screws are correctly placed to avoid future issues.
Having tested and reassembled your PS5 successfully, your console now boasts a fully functioning HDMI port, ready for endless gaming sessions.
DIY vs. Professional Repair: What to Consider
Taking on a PS5 repair can be rewarding, but it is not the route for everyone.
-
Pros and Cons of DIY Repairs: DIY repairs save money and provide personal satisfaction. However, the risk includes potential further damage due to inexperience.
-
When to Seek Professional Help: If the replacement process seems overwhelming, or you lack experience, a professional service can provide a safe and reliable repair, often with a warranty.
Deciding between DIY and professional repair is a personal choice, dependent on your comfort level and technical skills, ensuring a satisfactory resolution to your HDMI port issues.
Conclusion
Replacing your PS5’s HDMI port can be a straightforward task when approached with the right knowledge and tools. Recognizing signs of damage early and acting promptly will maintain optimal performance of your console. Whether choosing to do it yourself or seeking professional help, the key is to restore functionality efficiently and effectively, prolonging the enjoyment your PS5 offers.
Frequently Asked Questions
How do I know if my PS5 HDMI port is faulty?
Signs include no signal on your TV, flickering screen, or visible damage to the port.
Can I replace the HDMI port on my PS5 myself?
Yes, with the right tools and careful procedure, you can replace it yourself following detailed guides.
How much does it cost to replace the HDMI port on a PS5?
Cost varies; DIY is cheaper while professional repairs may include additional labor fees.