Introduction
Your iPhone’s Medical ID is a critical feature designed to provide lifesaving information to first responders and medical personnel during emergencies. By ensuring this data is easily accessible, you can facilitate prompt and effective care when it’s needed most. This article will guide you through setting up, accessing, and managing the privacy of your Medical ID, so you’re prepared for unforeseen situations.
Understanding the Medical ID Feature on iPhone
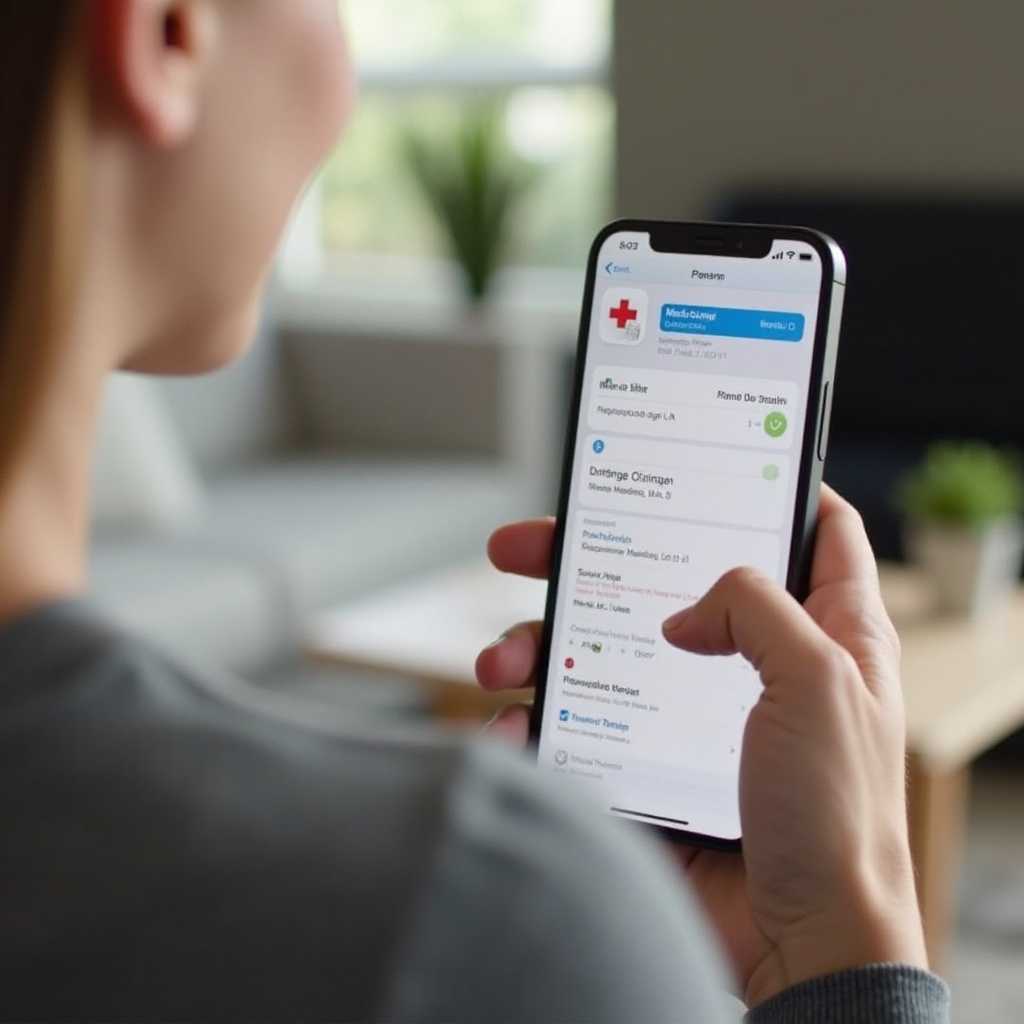
Medical ID is integrated into the Health app on your iPhone, allowing you to store essential medical details like allergies, conditions, and emergency contacts. This feature isn’t just a convenience—it’s a crucial tool that empowers both you and your caregivers in emergencies. When Medical ID is available, you can ensure that vital health information is communicated quickly, minimizing delays in receiving care. Let’s explore how to set up this valuable resource.
Setting Up Your Medical ID on iPhone
Creating a Medical ID on your iPhone is straightforward. Follow these steps to set it up effectively:
- Open the Health App: Locate the heart icon and tap to open.
- Access Medical ID: Click your profile picture, then select ‘Medical ID’.
- Edit Medical ID: Tap ‘Edit’ to start adding your information.
- Enter Information: Fill out each section with accurate data about medical conditions, allergies, and more.
- Add Emergency Contacts: Choose contacts who should be notified in an emergency.
- Enable ‘Show When Locked’: Ensure responders can access your Medical ID even if your phone is locked.
Once you’ve entered the necessary information and selected your emergency contacts, your Medical ID will be ready to assist in critical situations. Knowing how to access it is equally important.
How to Access Medical ID from the Lock Screen
Being able to access Medical ID quickly is integral to its effectiveness. Here’s how you or others can view it during an emergency:
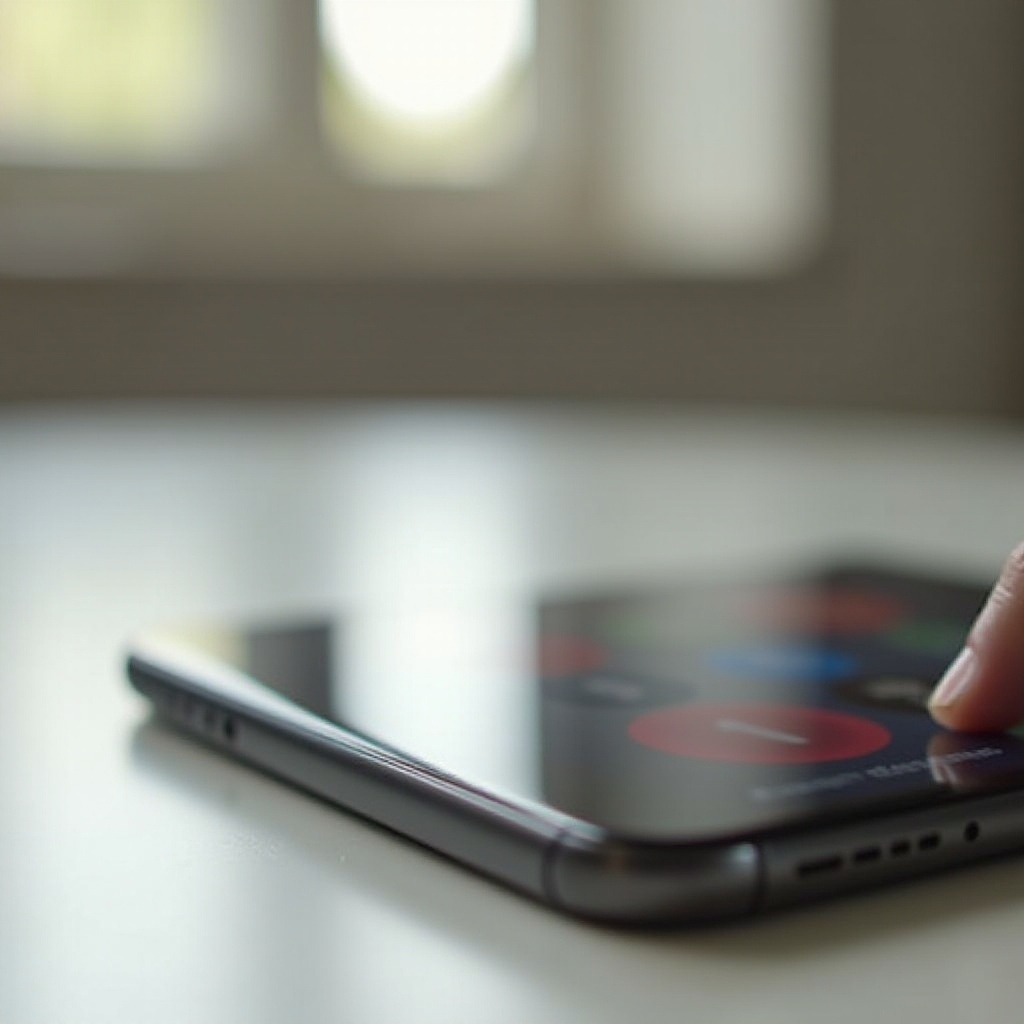
- For Face ID iPhones: Press and hold the side button along with a volume button until the Emergency SOS slider appears, then tap ‘Medical ID’.
- For Home Button iPhones: Press the home button thrice quickly to summon the Emergency SOS slider and choose ‘Medical ID’.
- Using Siri: Activate Siri and say ‘Show my Medical ID’ to display your information without unlocking your phone.
These methods ensure your critical medical details are readily available and can dramatically improve the speed and appropriateness of emergency response.
Managing Privacy and Security of Medical ID
While having your Medical ID easily accessible is important, maintaining the security and privacy of your medical data is also crucial. Here are steps to ensure your information is protected:
- Regularly Review Your Information: Update your data annually to keep it accurate.
- Understand Data Sharing: Learn how your Medical ID data is used and shared within Apple’s privacy parameters.
- Control Who Can See Your ID: Adjust settings to manage when and to whom your Medical ID is visible.
Balancing accessibility with security allows you to benefit from the features of Medical ID without compromising personal privacy. Regularly updating your details ensures you remain prepared and protected.
Conclusion
Medical ID on your iPhone acts as a bridge to safety, offering quick access to vital health information when seconds count. A properly set up Medical ID adds an extra layer of preparedness to your digital life, affirming that help is just a few taps away when needed. Regular updates and careful management of privacy settings ensure your data remains secure and effective.
Frequently Asked Questions
How can I update my Medical ID information?
To update your Medical ID, open the Health app, tap on your profile, select ‘Medical ID’, and tap ‘Edit’ to make changes.
Can I access Medical ID on other Apple devices?
Currently, Medical ID is primarily accessible on iPhones through the Lock screen and is not available on iPads or Apple Watches in the same manner.
What should I do if I cannot access Medical ID during an emergency?
If unable to access Medical ID, ensure ‘Show When Locked’ is enabled, or try using Siri. If issues persist, consult Apple’s settings or support.